There is a week in late summer when the sunflower patch stops being a flower bed and starts being a pantry. The petals shrivel, the heavy heads begin to nod, and every bird in the neighbourhood arrives to inspect your crop. That is your cue to move. Cut too early and you will be left with thin, hollow seeds that never fill out. Wait too long and rain, mould or a flock of goldfinches will take what you were counting on. The process itself is forgiving, though, and it needs very little equipment: a sharp knife, some paper bags, and a dry corner of a shed or garage.
Start with sunflowers worth harvesting
Not every sunflower is a good seed crop. The tall single-stem types with one big dinner-plate head are the easiest to manage, because everything ripens at once and one head gives a generous handful. Branching varieties produce many smaller heads over a longer season, which suits cutting flowers but means you will be harvesting in dribs and drabs.
If eating is the goal, look for varieties described as large-seeded or confectionery types, with fat, striped hulls. If you plan to save seed for replanting, open-pollinated varieties are the better bet: they come back looking much like their parents. Hybrids will still grow, but the offspring can be a mixed bag of sizes and colours. Either way, avoid collecting from the smallest, weakest plants. Take seed from the head that stood up straight and ripened earliest, and you quietly improve your patch each year.
Reading the signs: when sunflower heads are ready
Sunflowers give you plenty of warning before they are ready. Start checking daily once the petals begin to fade. A head that is still green on the back is not there yet, no matter how full it looks from the front.
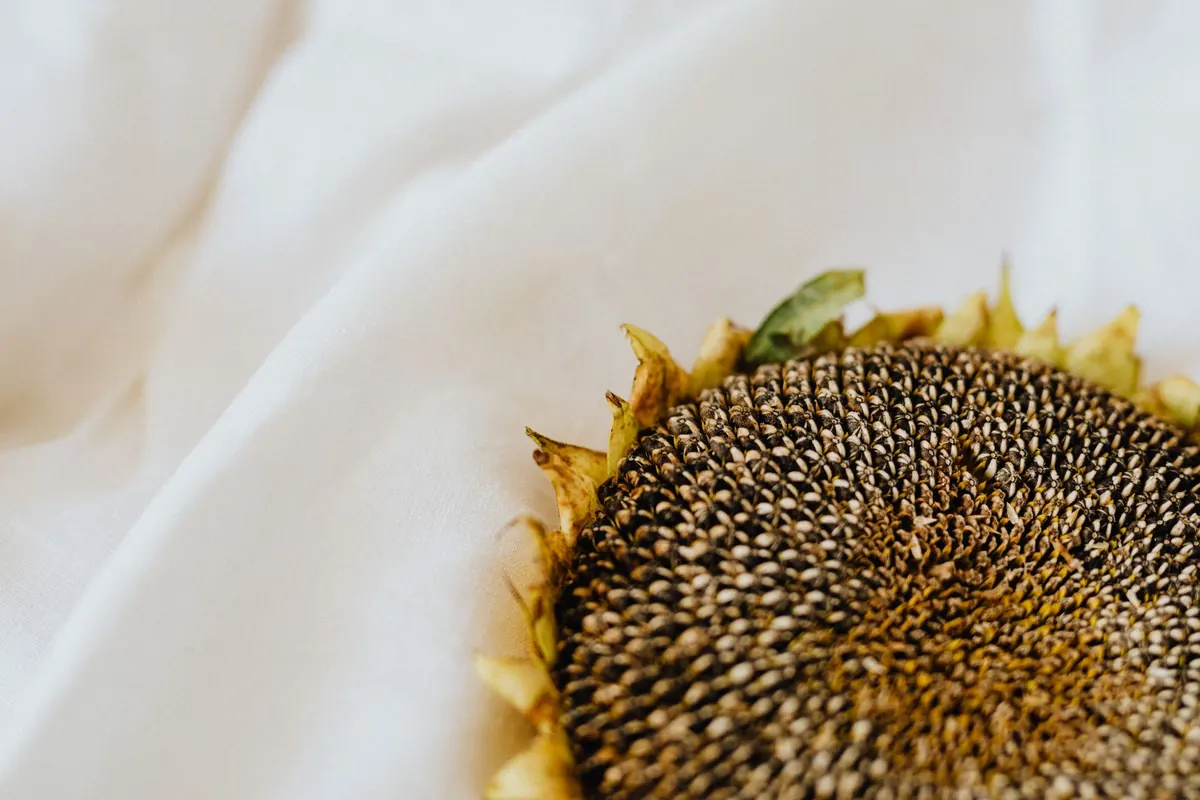
- The back of the head changes colour. It moves from bright green to yellow-green, then to a soft brown. This is the single most reliable sign.
- The petals drop. A few dry, curling petals are normal; a bare rim with only the central disc left is a clear go-ahead.
- The seeds feel full. Pry one out near the edge of the head and squeeze it. A ripe seed is plump and hard, and the hull darkens as it matures.
- The head starts to nod. As seeds swell, the stem bends under the weight.
- The birds arrive. They are excellent judges of ripeness, and they will always get there before you do.
If the birds are already working the heads, don't panic. Slip a paper bag over each head and tie it loosely around the stem. The seeds continue ripening inside, and you have bought yourself a few extra days.
Cutting the heads, step by step
- Pick a dry morning. Wait until the dew has lifted. Wet heads invite mould, and damp seeds store badly.
- Bring the right tools. Sharp secateurs or a sturdy knife, plus paper bags or a shallow crate for carrying.
- Leave a handle. Cut the stem 30 to 40 centimetres below the head if you plan to hang it. For drying on screens, 10 centimetres is plenty.
- Handle the head, not the seeds. Lift by the stem stub and keep the seed face up. Pressing a thumb into the face bruises the seeds and shortens their storage life.
- Cut a few at a time. Heads are heavier than they look, and a full crate of them is awkward to carry down a garden path.
Leave a short stump in the ground rather than yanking the plant out. The roots will break down over winter and keep the soil structure intact.
Drying the heads
This is the stage most people rush, and it is the one that decides whether your seeds keep for months or go fuzzy in a fortnight. Aim for a warm, airy, dry place: a shed, a garage, a covered porch, or a spare room with the window cracked. Avoid direct sun, which bleaches the hulls and can overheat a head that is already dry.
Hanging
Tie each head by its stem to a beam or a line, seed face down, and slide a paper bag or a piece of mesh over it. The bag catches any seeds that drop and keeps dust and insects off, while the open weave of a mesh bag lets air circulate. Never use a sealed plastic bag for this.
Screens
If space is tight, lay heads in a single layer, seed face up, on an old window screen or a rack made from timber and mesh. Stacking heads is the fastest route to mould, so resist the temptation to build a pile.
What "dry" actually means
Expect two to three weeks in good conditions, longer in cool, damp weather. A finished head is lighter, the back is hard and brown, and the seeds rub out easily with your thumb. In a humid spell, a food dehydrator on its lowest setting does the job in a fraction of the time. Spread the seeds in one layer and check them often; the goal is dry, not toasted.
Shelling, cleaning and finishing the dry
Once the heads are ready, rub the seeds loose with your fingers over a bucket. Some people find the fuzzy hairs on the head mildly irritating, so a pair of light gloves is sensible. Then spread the seeds in a thin layer on a tray or screen and leave them for a few days more. The heads and the seeds dry at different rates, and this second drying is what turns a nearly-ready crop into a storable one.
To clean them, tip the seeds from one bowl into another in front of a gentle fan or on a breezy day. The chaff is lighter and blows clear while the seeds drop straight down. Pick out any dark, shrivelled or mouldy seeds by hand. This is not a step to skip if you plan to eat them.
The final test is simple. Crack a seed between your teeth or under a thumbnail. Fully dry seeds snap cleanly. If they bend, squash, or taste soft in the middle, they need more time.
Storing seeds for snacks or next year's planting
For eating
Leave the hulls on until you are ready to use them; they protect the kernel inside. Pack the seeds into glass jars or airtight tins, label them with the variety and the month, and keep them somewhere cool and dark. A cupboard is fine, a fridge is better for long storage, and a sealed jar in the freezer will keep them for well over a year. Add a small packet of food-safe silica gel if your kitchen runs humid.
For a classic snack, soak shelled or in-hull seeds in salted water for half an hour, drain and spread them on a tray, then roast at around 150°C for twenty to thirty minutes, stirring once or twice. They go from golden to bitter very quickly at the end, so stay nearby.
For replanting
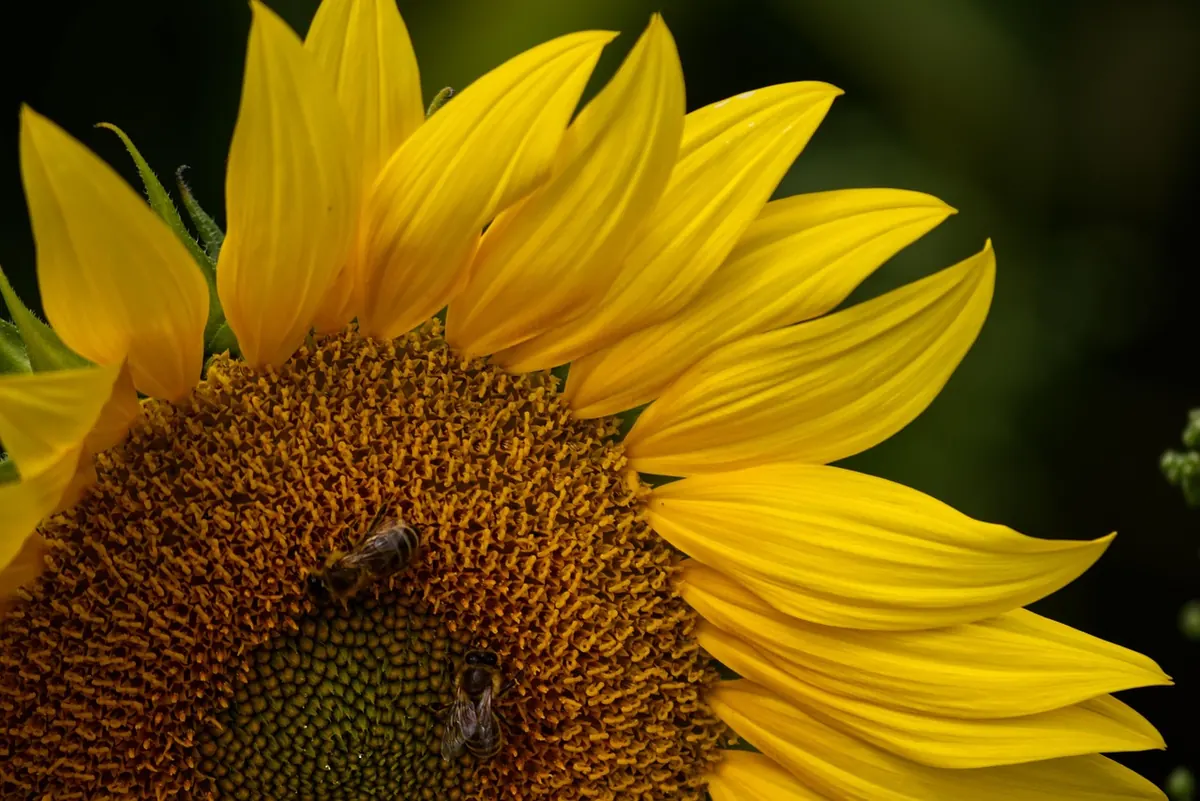
Seed for the garden needs the same treatment as seed for the kitchen, with one extra habit: keep varieties separate and label everything with the year. Sunflowers are cross-pollinated by bees, so two varieties flowering close together will mix. In a small garden, the practical answer is to grow one variety for seed each year, or to bag a head with fine mesh before it opens and hand-pollinate it with a soft brush. Home-saved seed usually stays viable for several years if kept cool and dry.
A few practical habits
Check the drying heads every couple of days and remove anything that smells musty or shows fuzz; one mouldy head can spoil a whole tray. Discard any seed that has gone mouldy rather than trying to salvage it, particularly if you intend to eat it. Pick a dry day, handle the heads gently, and give the seeds that extra few days on the tray before they go into jars. Do that, and the same patch that fed the birds in August will keep you in sunflower seeds long after the garden has gone to sleep.
Photo: uwe367 / Pixabay